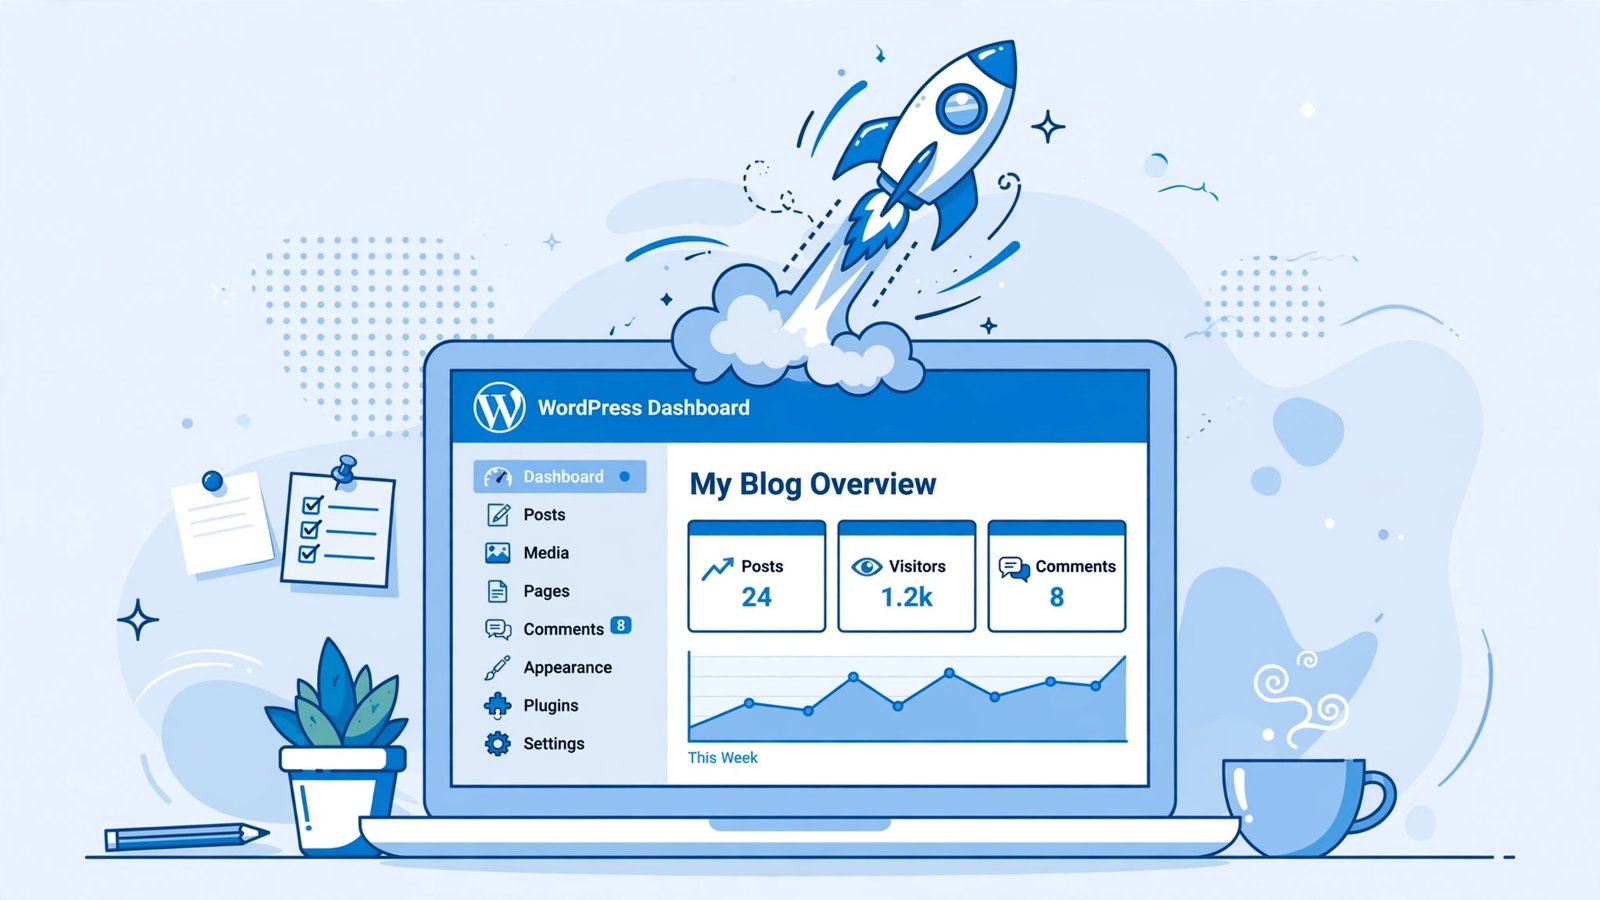
You’ve been thinking about starting a blog for a while — maybe for extra income, maybe to build an audience around something you love. Good news: learning how to start a WordPress blog in 2026 is easier than ever, costs less per month than a streaming subscription, and needs no coding or technical background.
This guide walks you through the whole process, step by step: the real costs, the exact setup, and what to do after your first post goes live.
WordPress.org vs WordPress.com vs Blogger
This is your first decision, and it matters most. WordPress.org (self-hosted) is the free, open-source software you install on your own hosting — you own your content, domain, design, and every dollar you earn. About 43% of all websites run on it, and it’s what this guide covers. WordPress.com is the commercial hosted version: the free plan shows their ads on your site and sticks you with a subdomain like yourblog.wordpress.com. Blogger is Google’s free service, but you’re building on rented land with thin monetization options.
Bottom line: if you’re even slightly serious — especially if you ever want to earn money — go with WordPress.org. Full control is worth far more than a few dollars a month.
What It Really Costs in 2026
Blogging isn’t expensive. Here’s the honest year-one math:
- Domain name: $10–$15/year (often free the first year with a hosting plan)
- Hosting: roughly $3–$10/month, billed upfront for 12–48 months
- Theme and plugins: $0 — the best beginner options are free
Realistic year-one total: $50 to $120 — many beginners spend under $75 for the entire first year.
A few US-friendly hosts worth a look:
- Hostinger — the cheapest solid option, with Premium shared plans starting around $2.99/month on longer terms, a free domain for the first year, and a genuinely simple setup. Watch the renewal rate (around $10.99/month after the intro term) — that’s the real long-term price.
- SiteGround — pricier (from around $3.99/month intro), but known for strong support and WordPress-specific tools.
- Cloudways — managed cloud hosting from about $11/month. No intro discounts or free domain, but no renewal surprises either — a good fit once your blog has steady traffic.
Tip: start with a 12-month term. Longer terms look cheaper per month, but a year is plenty to find out whether you enjoy blogging — and most hosts offer a 30-day money-back guarantee anyway.
Step 1: Pick Your Niche
Your niche is simply what your blog is about. “I’ll write about everything” sounds fun, but it rarely works — readers and Google both need to know what you’re about.
Aim for the overlap of three things:
- Something you know or can research well — personal finance, AI tools, home cooking, beginner fitness, remote work, pet care, budget travel
- Something people actually search for — check Google autocomplete or Google Trends for real interest
- Something with money in it — niches like finance, software, and online business attract advertisers and affiliate programs, and that’s what pays later
Don’t overthink it. A “good enough” niche you write about consistently beats a “perfect” one you abandon in a month — pick the topic you’d still enjoy writing about on a tired Sunday evening.
Stuck for ideas? AI assistants are great for brainstorming — ask one for 20 article topics in your niche, then check which have real search demand. This guide on how to create a Muse AI account with a USA IP and get 1 billion free tokens shows you how to set up a powerful free assistant for exactly that.
Step 2: Choose Your Domain Name
Keep it short and easy to spell — if you have to spell it out every time, it’s too complicated. Stick with .com, since it’s what most Americans type and trust. Pick something brandable rather than keyword-stuffed, and skip hyphens and numbers — they’re hard to say aloud and easy to misremember.
Brainstorm 5–10 ideas and check availability on your host’s domain search or a registrar like Namecheap. If your first choice is taken, add a word (“get,” “my,” “the”) instead of settling for something awkward.
Step 3: Buy Your Hosting Plan
Signup is straightforward:
- Choose the entry-level WordPress/shared plan.
- Register your domain during checkout if it’s free for the first year — or connect one you bought separately.
- Pick a 12-month term: the best balance of price and flexibility.
- Skip the upsells. You don’t need paid backup add-ons or SEO toolkits — free SSL from your host and a free backup plugin are enough.
- Create your account and pay.
Step 4: Install WordPress With One Click
This is the part beginners worry about most — and it’s the easiest. Every major host has a one-click installer. Log in to your control panel, find the WordPress installer, enter your site name plus an admin username (not “admin”) and a strong password, and click install. Done — you have a live site.
(If you ever need the manual method, the official guide at wordpress.org/support/article/how-to-install-wordpress/ covers it.) Your admin area lives at yourdomain.com/wp-admin — bookmark it.
Step 5: Pick a Fast, Free Theme
Your theme controls how your blog looks. For a new blog you want something fast, clean, and free — speed matters for readers and for Google. Three proven options: Astra (lightweight, hugely popular), Kadence (modern, generous free customization), and GeneratePress (minimal, extremely lightweight).
Install one via Appearance → Themes → Add New, then use the Customizer to set your site title and colors. Don’t spend a week on design — a clean blog with real content beats a gorgeous empty one every time.
Step 6: Configure the Essential Settings
Spend 15 minutes on these before writing anything:
- Permalinks → Post name (Settings → Permalinks): turns ugly URLs like
yoursite.com/?p=123into clean ones likeyoursite.com/my-post-title/— better for readers, sharing, and SEO. - Turn on SSL/HTTPS: activate your host’s free certificate and check that both addresses under Settings → General start with
https://. Google treats HTTPS as a ranking signal, and visitors trust it. - Set your timezone (Settings → General) to your US timezone so scheduled posts go out at the right hour.
- Delete the default content: the “Hello world!” post, sample page, and sample comment — they look amateurish if a visitor finds them.
- Install essential free plugins (Plugins → Add New): Rank Math or Yoast SEO (SEO settings, sitemaps, meta descriptions), UpdraftPlus (automated backups to Google Drive — non-negotiable), Wordfence Security (firewall and login protection), and LiteSpeed Cache or WP Super Cache (page speed). That’s enough to start — every plugin adds weight, so add more only when you have a specific need.
Step 7: Create Your Key Pages
Before publishing posts, create these three pages via Pages → Add New — they build trust, and ad networks require some of them:
- About page — who you are, why you started the blog, what readers get from it. Write in first person; this is where visitors decide whether to trust you.
- Contact page — a simple page with a contact form (free Contact Form 7 or WPForms Lite) so readers and partners can reach you.
- Privacy Policy page — legally required in many cases and checked by every ad network. WordPress includes a starter template under Settings → Privacy; if you plan to run ads, make sure it mentions cookies and advertising.
Step 8: Write and Publish Your First Post
Go to Posts → Add New and write your first real article:
- Aim for 1,000–2,000 words on informational topics — thorough posts consistently outperform thin ones on Google.
- Lead with the answer. Say what readers will learn in the first two paragraphs, then deliver.
- Use headings, short paragraphs, and lists. Most people scan before they read — make scanning easy.
- Write like a person. Contractions, varied sentence length, specifics from your own experience. Generic, robotic content is exactly what readers and Google are tired of.
- Add a featured image from Unsplash or Pexels. Rename the file descriptively and fill in the alt text before uploading.
Hit Publish — you’re officially a blogger. Share the post with a friend or in a relevant community to get your first readers.
Step 9: What to Do Next
One post is a milestone, not a finish line. Your roadmap from here:
Learn basic SEO. Run your SEO plugin’s setup wizard, write custom meta descriptions, and use descriptive headings. When you have enough content, study the Google AdSense approval requirements so you’re ready to monetize from day one.
Publish consistently. One quality post per week beats five rushed posts a month. Pick a schedule you can keep for a year.
Plan your monetization. Display ads, affiliate marketing, or digital products — most blogs use a mix. Knowing the path keeps you motivated.
Frequently Asked Questions
How much does it cost to start a WordPress blog?
A typical beginner spends $50–$120 for the entire first year — a domain ($10–$15/year, often free the first year with hosting) plus entry-level hosting ($3–$10/month). WordPress, the best beginner themes, and essential plugins are all free. Skip the checkout upsells.
How long does the setup take?
The technical side — hosting, WordPress install, theme, settings — takes about 1–2 hours with this guide. Writing your first quality post takes longer (budget a few hours). Most people go from zero to a live blog with published content in a single weekend.
What’s the difference between WordPress.org and WordPress.com?
WordPress.org is the free self-hosted software — you own everything and monetize however you like. WordPress.com is a managed service, but the free plan shows their ads and limits your options. For anyone serious about blogging or earning money, WordPress.org is the clear pick. (New to the platform? wordpress.org is the official home of the free software.)
Can you really make money with a blog?
Yes — with realistic expectations. Bloggers earn through display ads, affiliate commissions, sponsored posts, and digital products, and it typically takes 6–12 months of consistent publishing before meaningful income arrives. Treat it as a real business with a slow start.
Do I need coding skills?
No. Modern WordPress is fully point-and-click — themes, plugins, posts, and design customization all work without code. Basic HTML or CSS helps with small tweaks later, but it’s optional. Plenty of successful bloggers have never written a line of code.
Starting a blog is a weekend project; growing one is a habit. Get the setup done fast with this guide, then put your energy where it counts — publishing content your readers can’t find anywhere else.