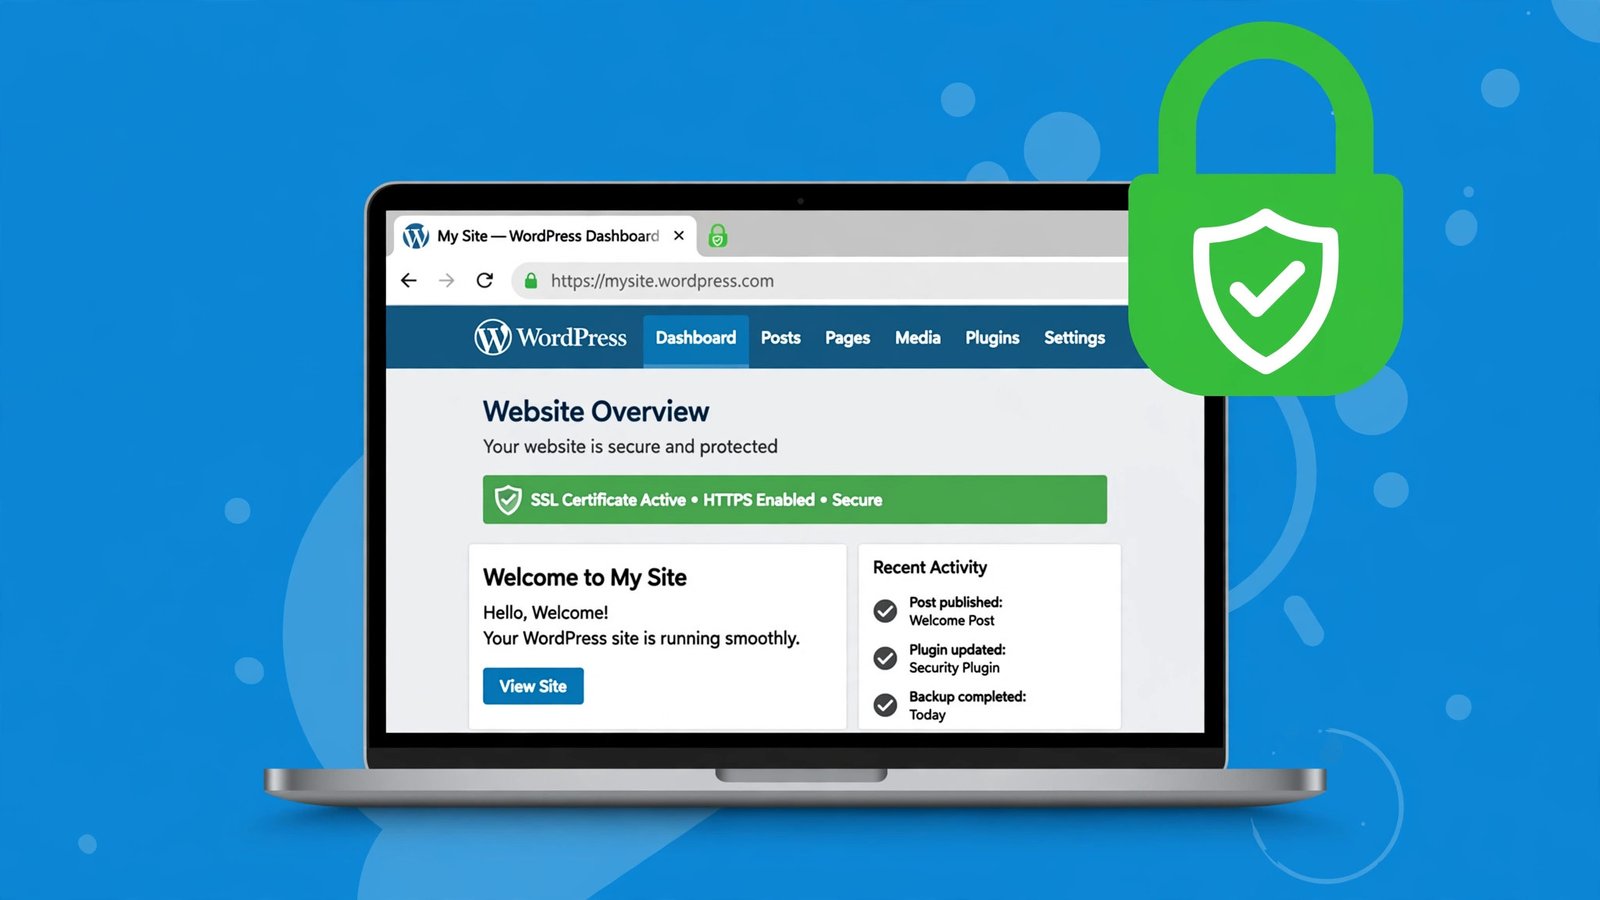
If you’ve typed your own site’s address into a browser and seen the words “Not Secure” next to it, you already know why this guide exists. That warning sends visitors running before they read a single word — and in 2026 there’s no excuse for it — fixing it costs nothing.
An SSL certificate is what turns http:// into https:// and puts the little padlock in the address bar. Thanks to a free service called Let’s Encrypt, every WordPress site owner can get one in about ten minutes, no server skills required.
This guide walks you through the whole thing, step by step.
What SSL and HTTPS Actually Do
Plain-English version: when someone visits your site, information travels back and forth between their browser and your web host. Without SSL, that data travels as readable text that anyone on the same network could peek at.
SSL encrypts that connection. The browser and server agree on a way to scramble everything they exchange, so login credentials, contact form entries, and comments can’t be read in transit. When it’s active, your address starts with https:// and browsers show the padlock. That’s all it is.
Why It Matters More Than You Think
Three reasons not to put this off:
1. Visitors bounce from “Not Secure” warnings. Chrome, Firefox, Edge, and Safari all flag sites without HTTPS. Most people who see a “Not Secure” or “Your connection is not private” warning don’t click through — they leave. It doesn’t matter how good your content is if nobody gets past the warning.
2. Google uses HTTPS as a ranking signal. It’s been confirmed for years. All else being equal, the secure page outranks the insecure one. If you’re doing SEO, this is one of the easiest wins available.
3. AdSense requires it. Google won’t approve a site that isn’t running on HTTPS. If monetization is in your plans, see the full list of Google AdSense approval requirements for 2026 — HTTPS is non-negotiable there.
What Is Let’s Encrypt?
Let’s Encrypt (letsencrypt.org) is a free, automated certificate authority run by the nonprofit Internet Security Research Group. Since 2015 it has issued billions of certificates, and every major browser trusts them. Key facts:
- Free. Zero cost, no hidden fees, no premium tier for a basic certificate.
- Automated. Certificates are issued and renewed by software — no checkout flow, no manual paperwork.
- Trusted. Browsers treat a Let’s Encrypt certificate exactly like a paid one for the padlock and HTTPS indicator.
A basic Let’s Encrypt certificate encrypts your connection just as strongly as a $60/year paid certificate. Never pay for basic SSL on a blog — the free option does the same job.
One detail: Let’s Encrypt certificates are short-lived — currently valid for 90 days. That’s by design, and it’s fine, because renewal is automatic on virtually every host. More on that below.
Method 1: One-Click Free SSL in Your Hosting Panel (Recommended)
This is the method 95% of beginners should use. Most WordPress hosts have built-in Let’s Encrypt support — you click a button and the host handles the rest.
Hostinger (hPanel)
- Log in and open hPanel > Websites > your site’s Dashboard.
- In the left sidebar, go to Security > SSL.
- Click Install SSL next to your domain. Hostinger provisions the free certificate automatically — check back in a few minutes for an active status.
SiteGround (Site Tools)
- Open Websites > your site > Site Tools.
- Go to Security > SSL Manager.
- Under Install New SSL, select your domain, choose Let’s Encrypt from the dropdown, and click Get. The certificate installs within a couple of minutes.
cPanel hosts (Bluehost, A2, Namecheap, most others)
- Open cPanel and click SSL/TLS Status under the Security section.
- Select your domain(s) and click Run AutoSSL. (Some cPanel setups show a dedicated Let’s Encrypt icon instead — select the domain and click Issue.)
- Wait a few minutes and refresh — the status should show a valid certificate.
Cloudways
- Open your server, select the application, and go to Application Management > SSL Certificate.
- Choose Let’s Encrypt, enter your email and domain, and click Install Certificate. Cloudways verifies and installs it automatically.
Host not listed? Look in your dashboard for SSL, Security, HTTPS, or Let’s Encrypt. Nearly every reputable WordPress host offers free SSL in 2026 — if you can’t find it, ask support directly.
Method 2: Free SSL Through Cloudflare
If your host doesn’t offer one-click SSL, or you want the extra performance of a CDN, Cloudflare’s free plan includes a Universal SSL certificate:
- Create a free Cloudflare account and add your domain. Cloudflare scans your DNS records — review them so your site and email are covered.
- Point your domain to Cloudflare’s nameservers. Cloudflare gives you two nameservers; paste them into your domain registrar’s settings, replacing the old ones. It feels scary, but it’s reversible.
- Wait for activation. DNS changes take minutes to a few hours; Cloudflare emails you when the site is active.
- In the Cloudflare dashboard, go to SSL/TLS > Overview and set encryption mode to Full (or Full (Strict) once your origin server has its own certificate). Avoid Flexible long-term — it only encrypts the visitor-to-Cloudflare half.
- Under SSL/TLS > Edge Certificates, enable Always Use HTTPS so every visitor lands on the secure version.
For the strongest setup, still install a Let’s Encrypt certificate on your host (Method 1) and use Full (Strict) mode — that encrypts the entire path, end to end.
The WordPress Side: Switching Your Site to HTTPS
The certificate alone isn’t enough — WordPress needs to know your site now lives at https://. Skip this and visitors may still land on the insecure version.
Step 1: Update your site URLs
- In wp-admin, go to Settings > General.
- Change WordPress Address (URL) and Site Address (URL) from
http://yoursite.comtohttps://yoursite.com. - Click Save Changes. You’ll be logged out and asked to log back in — that’s normal.
Step 2: Force the HTTPS redirect
Every http:// request should automatically redirect to https://. Two ways:
- Easy way: Many hosts have an “HTTPS redirect” or “Force HTTPS” toggle in their SSL/Security panel. Flip it on and you’re done.
- .htaccess way: No toggle? Add this to the top of your site’s
.htaccessfile (found in the root folder via your host’s File Manager):
RewriteEngine On
RewriteCond %{HTTPS} off
RewriteRule ^(.*)$ https://%{HTTP_HOST}%{REQUEST_URI} [L,R=301]
The R=301 makes it a permanent redirect, which passes your SEO ranking signals to the secure URL.
Step 3: Fix mixed content
Mixed content is the most common gotcha: your page loads over HTTPS, but some images, scripts, or stylesheets still load over plain http://. Browsers may show a broken padlock or block those elements.
Find it: press F12 on your site and check the Console tab for mixed-content warnings — or paste your URL into whynopadlock.com, which lists every insecure resource. For a deeper grade of your certificate setup, run SSL Labs’ SSL test.
Fix it: the usual culprits are old image URLs in posts that still start with http://. A search-and-replace plugin can swap http://yoursite.com for https://yoursite.com across your database, or the Really Simple SSL plugin handles redirects and mixed-content rewriting for you. WordPress’s own docs explain the reasoning well: Why should I use HTTPS?
Step 4: Verify everything
- [ ] Site loads at
https://with a padlock in the address bar. - [ ] Typing the
http://address redirects tohttps://. - [ ] No mixed-content warnings in the browser console.
- [ ] SSL Labs gives your domain an A or A+.
If you use Google Search Console, add the https:// version of your site as a property — Google treats HTTP and HTTPS as separate properties.
What About Renewal? (You Do Nothing)
Let’s Encrypt certificates last 90 days, which sounds like a chore — but on virtually every managed host, renewal is fully automatic. The host re-requests a fresh certificate before the old one expires, and visitors never notice.
No reminders, no clicks, no action needed. If your padlock ever disappears and auto-renewal seems to have failed, contact your host’s support — that’s their automation to fix, not yours.
Troubleshooting
“Too many redirects” after switching to HTTPS
Two redirect rules are fighting — e.g., both a plugin and your host forcing HTTPS in slightly different ways. Keep only one: turn off the plugin’s redirect if your host handles it, or vice versa. Locked out of wp-admin? Temporarily rename the plugin’s folder via File Manager/FTP to disable it, then fix the settings.
The padlock is still missing
Nine times out of ten this is mixed content. Run your URL through whynopadlock.com, fix the flagged http:// resources, then clear your caching plugin’s cache — cached pages can keep serving old insecure URLs.
Certificate installed, but HTTPS won’t load
Wait 10–15 minutes — provisioning sometimes lags. Still failing? Check that your domain’s DNS actually points to your host (a recent nameserver change can break validation), then re-run the install in your hosting panel.
Frequently Asked Questions
Is a free SSL certificate as good as a paid one?
For a blog or content site, yes. A free Let’s Encrypt certificate encrypts the connection with the same strength as a paid one, and browsers show the identical padlock. Paid certificates add extras like organization validation or warranties — things most blogs never need. Don’t let anyone upsell you basic SSL in 2026.
How long does installation take?
The one-click install usually takes 2–10 minutes from click to active padlock. The WordPress-side steps (URLs, redirect, mixed content) take another 15–30 minutes depending on how much old content you have.
Will SSL slow down my website?
No — not in any way you’d notice. Modern HTTPS adds a handshake overhead of milliseconds, and HTTP/2 (enabled automatically on HTTPS by most hosts) often makes secure sites faster than their insecure versions.
Do I need to renew the certificate manually?
No. Let’s Encrypt renews automatically on virtually every web host. The 90-day validity is intentional and handled behind the scenes — just don’t delete the auto-renewal setup your host created.
What if my host doesn’t offer free SSL?
Ask their support first — many hosts have it but don’t advertise it clearly. If they truly don’t, use Cloudflare’s free Universal SSL (Method 2 above), which works regardless of your host. And in 2026, free SSL is a baseline feature — a host that charges extra for it is selling you something everyone else gives away.
Do I need a separate certificate for www and non-www?
Most panels issue one certificate covering both yoursite.com and www.yoursite.com. Pick one as your canonical address (most people use non-www) and redirect the other to it.